

Introduction
Electronics runs on Interchange are a proven way to stock up on high-demand parts like graphics cards, power supplies, and computer modules. These items fuel key trader quests and unlock advanced gear, making each trip into the mall a high-value opportunity. Yet solo runs can stretch out: clearing AI, finding the right shelves, and avoiding player ambushes can turn a quick loot trip into a long slog. Tarkov Boosting offers a faster path by pairing you with an experienced partner who maps out the electronics shops and knows exactly where the best parts spawn.
With a boosting team, you skip the trial-and-error stage. You gear up lightly, join voice chat, and drop straight into your chosen spawn point. Your booster then leads you through a pre-planned shop order—Techlight first for PCBs and LED screens, then Goshan for power supplies, followed by IDEA’s hidden back aisles, and finally the small Ultra display cases. This direct route cuts out extra hallway sweeps and random room checks, so you hit every electronics hotspot in one sweep. On average, boosted electronics runs finish in under eight minutes, compared to fifteen to twenty minutes solo. That time savings means more runs per session, more spare parts for your hideout, and faster quest completion.
Beyond the speed boost, working with a carrier reduces the risk of running into other players in high-traffic areas. Electronics stores draw heavy traffic, so having a partner watch your back while you grab parts lets you move confidently. You focus on fast looting and transfer into your secure case, while your booster handles cover fire and AI patrol control. This tight, coordinated approach maximizes every second in-raid, turning electronics farming from a grind into a streamlined, repeatable process.
Identify Key Electronic Items
Before each run, decide which electronics parts you need most. Graphics cards—both high-end models and older PCBs—sell fast and feed multiple quests. Power supply units, especially sealed ones, fetch solid trader reputation and unlock late-game upgrades. Solid-state drives and external hard drives also appear on many barter lists and quest logs. Look for CPU fans and heat sinks in display cases; they’re rare but needed for hideout modules. Don’t overlook smaller components like circuit boards, resistors, and RAM sticks, which stack easily in your pouch and clear multiple objectives at once.
Make a simple list of your target items and note how many you need per run. For example, if a quest asks for three graphics cards and two power supplies, write down exactly that. This keeps you from grabbing too many of one item and missing another. When your booster shares the shop order, they’ll tick off each item as you collect it. You handle quick looting with the hold-to-loot command, moving items into your secure container instantly. That command grabs every matching item in a case or shelf in one move, saving precious seconds over clicking individual slots. By knowing exactly which electronics to grab and how many you need, you keep each boosted run focused and efficient.
Map and Spawn Selection
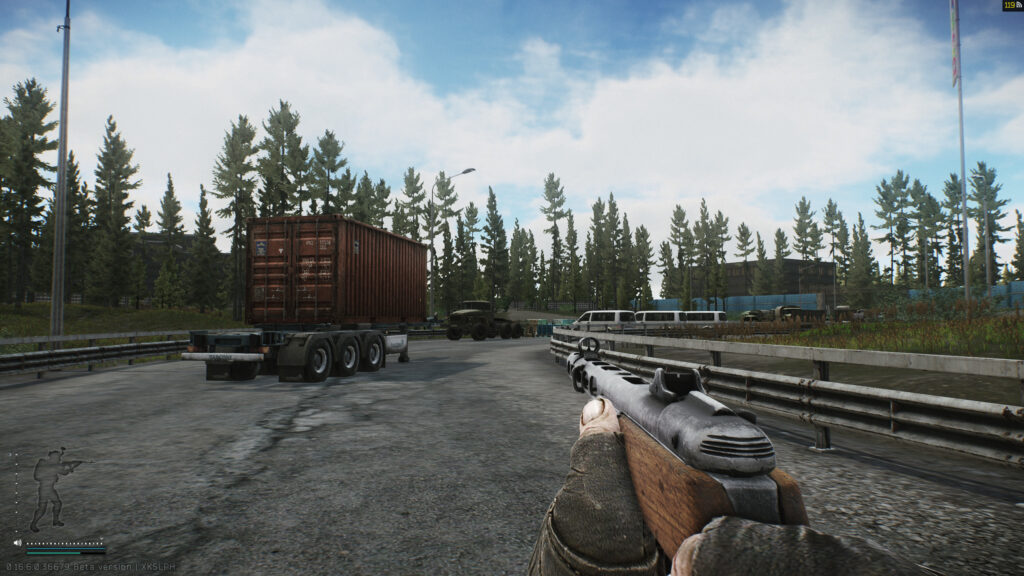
Choosing the right spawn point sets you up for a fast electronics run. Interchange offers several options: Player Spawn near the east entrance drops you close to Techlight and IDEA, while Scav Spawn on the west side lands you near Goshan and the Ultra section. Group Spawn usually places you near the south entrance, giving balanced access to all electronics shops. Pick the spawn that aligns with your first target shop. If you start at Techlight, use Player Spawn; if Goshan is your priority, join a Scav or Group Spawn.
Mark these choices on your offline map:
- Player Spawn (East Entrance): 70 meters to Techlight, 120 meters to IDEA
- Scav Spawn (West Entrance): 50 meters to Goshan, 200 meters to Ultra cases
- Group Spawn (South Entrance): 100 meters to both Goshan and Techlight
Before the run, share your spawn choice with your booster so they can plan the quickest path through the mall. They’ll lead you through each shop in sequence, cutting across crosswalks and using service corridors to avoid main hallways crowded with AI or other players. With spawn and shop order locked in, you move as a unit from the moment you hit “Ready” to the final sprint to extraction, making every electronics run a well-oiled, time-saving operation.
Gear and Loadout Setup
A lean loadout makes electronics runs with Tarkov Boosting faster and safer. Start with a secure container or small pouch that fits only the parts you plan to grab—graphics cards, power supplies, SSDs, and circuit boards. Avoid bulky backpacks that add weight and slow you down in tight aisles. Choose light armor, such as Class 3 or lower, to keep sprint speed high while still offering basic protection against stray scav pistol shots. Carry only quick-heal items: one painkiller and two bandages. These let you patch up without opening menus and costing time.
Select a compact primary weapon that handles close-quarters encounters inside shops, like an SMG with a red-dot sight or a short-barrel assault rifle. Remove heavy attachments—long-range scopes or large magazines—that add weight without helping in confined spaces. Pack just one extra magazine to save pouch slots. Assign your sidearm and heal items to one-key hotkeys for instant access: main weapon on key 1, sidearm on key 2, painkiller on key 3, bandage on key 4. Practice this setup in offline mode: sprint corridor to corridor, switch weapons, apply a bandage, and confirm your secure case holds all expected loot without overflow.
Before you head into a live run, double-check your gear against your item list. A quick glance at your pouch ensures you have room for exactly the number of graphics cards or power supplies you need. With a focused loadout, you stay mobile, maintain high awareness in crowded electronics shops, and rely on your booster for cover, making each Tarkov Boosting session smooth and efficient.
Sync with Your Booster
Effective electronics runs start with clear communication in the lobby. Follow this checklist to sync with your booster and avoid wasted time before the raid begins:
- Lobby Arrival: Join the raid lobby at least five minutes before your scheduled start. Use that time to finalize gear checks and test audio.
- Voice Channel Connection: Hop into your booster’s party or Discord channel. Test your microphone and headset volume to ensure you hear callouts like “moving” or “clear.”
- Loadout Verification: Share a screenshot of your pouch and secure container. Confirm it’s sized correctly for your target items.
- Spawn Selection: Agree on Player, Scav, or Group spawn. For Techlight first runs, use Player Spawn; for Goshan priority, choose Scav Spawn near the west entrance.
- Extraction Point: Decide on your exit gate and note its icon on the map (e.g., east parking lot exit or power station gate).
- Route and Roles: Carrier leads the path through each shop; you focus on quick looting and watching for AI patrols. Confirm simple voice cues: “loot,” “cover,” “move.”
- Ready Confirmation: Once every detail is set, both say “ready” and hit the start button together.
Running through these steps ensures you and your booster share the same plan—entry point, shop order, and exit route—so there’s no downtime once the raid launches. That coordination sets the tone for a focused, high-speed electronics run.
In-Raid Electronics Run Strategy
Once you load in, stay locked onto your booster’s lead and follow this strategy to clear all electronics hotspots without backtracking or extra fights:
| Step | Action | Notes |
|---|---|---|
| 1. Move to First Shop | Sprint from spawn to Techlight or Goshan | Use side corridors to avoid main hall traffic |
| 2. Clear Display Cases | Use hold-to-loot on open shelves and cases | Grabs all matching items in one action |
| 3. Transfer Loot | Drop items immediately into secure container or pouch | Prevents bag clutter and slot mix-ups |
| 4. Skip Non-Electronics | Pass by clothing racks, food stalls, and other unrelated areas | Saves time by staying on the electronics path |
| 5. Hit Next Shop | Move directly to IDEA’s back aisles or Ultra display cases | Follow booster’s signals to avoid AI or player conflicts |
| 6. Final Extraction Run | Head straight to the exit gate after the last shop | No detours—trust cover provided by your booster |
In addition to this table, keep these quick tips in mind:
- Stay Within Two Meters: Close formation prevents you from lagging behind and needing to backtrack.
- Follow Voice Cues: If your booster calls “cover,” you take a firing position; if they call “loot,” you grab items instantly.
- Maintain Sprint: Only slow to walk when opening extraction; otherwise, keep moving to avoid ambushes.
- Ignore Tempting Side Loot: Even a rare LEDX medpack isn’t worth the time if it pulls you off route.
By combining a clear shop order, tight formation, and fast-loot actions, you finish Interchange electronics runs with Tarkov Boosting
Repeat and Refine
Efficiency compounds when you repeat the same run setup and fine-tune small details after each session. After extraction, take a quick screenshot of your loadout screen showing pouch size, secure container capacity, and hotkey assignments. Note your spawn type and extraction gate choice in a simple text file or voice memo. These records become your template for the next run, cutting prep time in the lobby by half.
Next, review your timed metrics. Did you spend too long at a particular shop? Was there a traffic bottleneck in a hallway? Mark these spots on your offline map or notes. Adjust your approach: try a different service corridor or swap the shop order if it saves steps. If your pouch overflowed or had empty slots, change its size up or down. Tweak your hotkeys if you fumbled a weapon swap or heal under pressure. These micro-adjustments, saved between runs, shave seconds off each stage. As you cycle through multiple sessions, your electronics runs become a well-practiced routine, hitting every shop and exit point faster than before.
Combine Other Interchange Tasks
To squeeze even more value from each boosted session, layer in additional objectives that sit close to your electronics route. For instance, after Techlight, swing by the nearby kiosk for quest-based item pickups or loot the green medical shelves adjacent to Goshan. Use this mini-checklist when adding objectives:
- Proximity Check: Targets must sit within 30 meters of your main electronics path.
- Value Assessment: Focus on high-demand items—LEDX medpacks or keycards—rather than low-value junk.
- Exit Alignment: Ensure any added stops still lead you toward the same extraction gate without doubling back.
- Slot Planning: Confirm your pouch or container can handle extra items; adjust size if needed.
By combining electronics grabs with one or two side objectives, you increase your haul by up to 50% without significant time penalties. This approach maximizes each Tarkov Boosting session, filling your secure container with both crucial parts and bonus loot in one seamless run.
Conclusion
Interchange electronics runs with Tarkov Boosting turn a frustrating solo farm into a streamlined, high-speed operation. You start with a clear list of target parts, a lean loadout, and a synced plan with your booster. In-raid, you follow a set shop order, use fast-loot commands, transfer instantly, and ignore distractions.
Extraction becomes a direct sprint to safety, and repeat sessions with small refinements keep your times dropping. Layering nearby side objectives multiplies your gains per run, packing even more value into every raid. Implement these steps in your next electronics run, and you’ll finish with full pouches of sought-after parts, faster trader reputation, and time to spare for additional objectives or more boosted sessions.
Leave a Reply