Ambushes are among the most thrilling and effective tactics in Escape from Tarkov, allowing a skilled operator to eliminate unsuspecting opponents through superior positioning, timing, and psychological manipulation. Rather than relying solely on raw aim or gear advantages, successful ambushers exploit intimate knowledge of map flow, spawn behaviors, and common player heuristics.
By understanding why players move where they do, anticipate their reactions under stress, and leverage environmental cues, you can engineer ambush scenarios that feel almost inevitable to the prey. This article delves into the mental game behind ambushing—covering cognitive biases that drive player movement, specific choke points on popular maps, and techniques to misdirect and surprise opponents. By mastering these principles, you’ll transform from a reactive combatant into a proactive predator who dictates engagements rather than being dog-chased across the map.
1. Cognitive Biases and Player Behavior
At the core of every ambush lies a deep understanding of human psychology—players tend to gravitate toward perceived “safe” routes, common extraction points, and high-value loot areas. One fundamental bias at play is the availability heuristic: individuals overestimate the likelihood of encountering enemies in high-traffic areas they see often in stream highlights or community guides. As a result, many PMCs repeatedly traverse the same paths—such as Customs dorm entrances, Interchange central atriums, or Shoreline dock complexes—reinforcing predictable patterns ripe for exploitation.
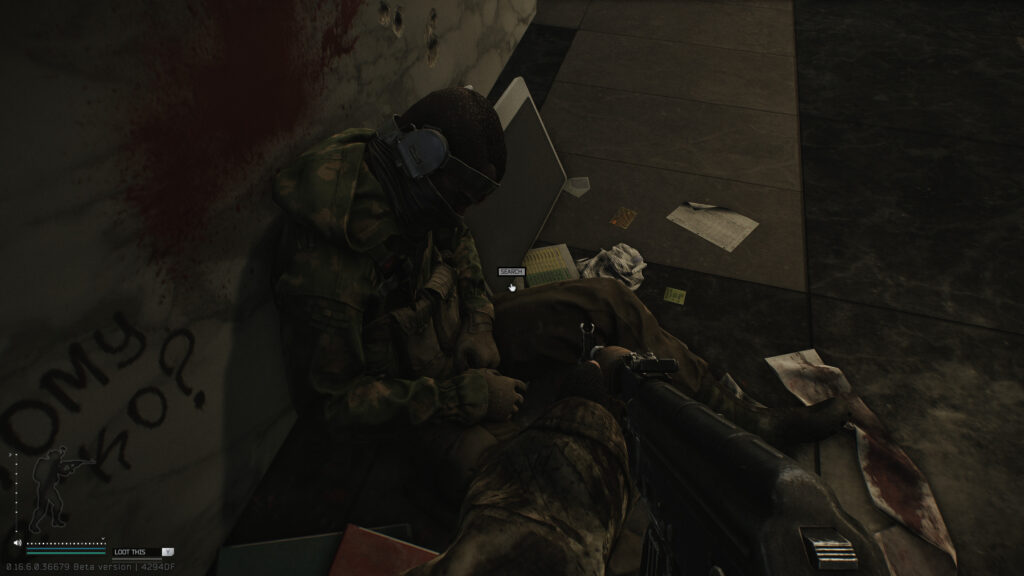
Another factor is confirmation bias: once a player believes a particular route is safe based on past successful runs, they continue to use it even if the environment has changed (e.g., AI Scav respawns or team rotations). Understanding these biases allows you to anticipate the “path of least resistance” most operators choose. Additionally, under stress—when low on health, resources, or time—players default to what they know, often ignoring less obvious but safer routes. By taking advantage of these predictable tendencies, you can stage your ambush in the exact spot where opponents feel most confident, turning perceived safety into a lethal trap.
2. Map-Specific Ambush Locations
Each map in Tarkov has its own choke points and ambush hotspots—locations where environmental layout funnels players into narrow corridors, blind corners, or high-traffic intersections. Below are several prime examples:
- Customs: Dorm Northern Stairwell — Players exiting Dorms 214 or 220 often race down the same stairwell toward the main road. Hiding at the top of the stairs or behind the first corner—facing outward—lets you catch survivors mid-scroll: they’re focused on crossing to the bus stop or factory exit and rarely check above.
- Interchange: East Wing Hallway — The corridor linking Goshan to KIBA is a natural funnel. Most operators push through this hallway to rotate between high-value stores. Positioning yourself behind the central concrete barrier allows you to fire burst shots into opponents without exposing your entire silhouette.
- Shoreline: Scenic Viewpoint Overlook — Players searching the third floor of Resort for keys and loot climb a narrow stair and pause at the viewpoint overlooks. By hiding behind the railing or in adjacent rooms, you can ambush them as they briefly survey the courtyard, exploiting their split-second distraction.
- Woods: Rock Pass Ridge — Many PMCs cross Rock Passage to reach the Scav Camp or Shoreline. The narrow ridgeline provides limited cover. A well-placed ambusher behind boulders on the ridge can control sightlines and shoot operators before they reach the center, where they feel most protected.
- Labs: Medical Corridor Near Room 112 — Operators exiting Room 112 to loot medical crates often run toward the central hot area. Positioning inside Room 115 or behind the counter in Room 114 allows for a first-shot kill in a tight corridor—opponents have minimal time to react.
3. Timing and Patience: The Waiting Game
A successful ambush is rarely the result of reacting faster than your opponent; more often, it emerges from waiting patiently in a predetermined location until a target walks into your crosshairs. Key to this is managing your adrenaline and resisting premature engagement. Too many players, eager for action, abandon their hiding spots to chase distant gunfire, inadvertently exposing themselves. Instead, choose a position that offers a clear line of sight to a choke point and affiliate yourself with background noise—such as AI Scav fire—to mask your presence.
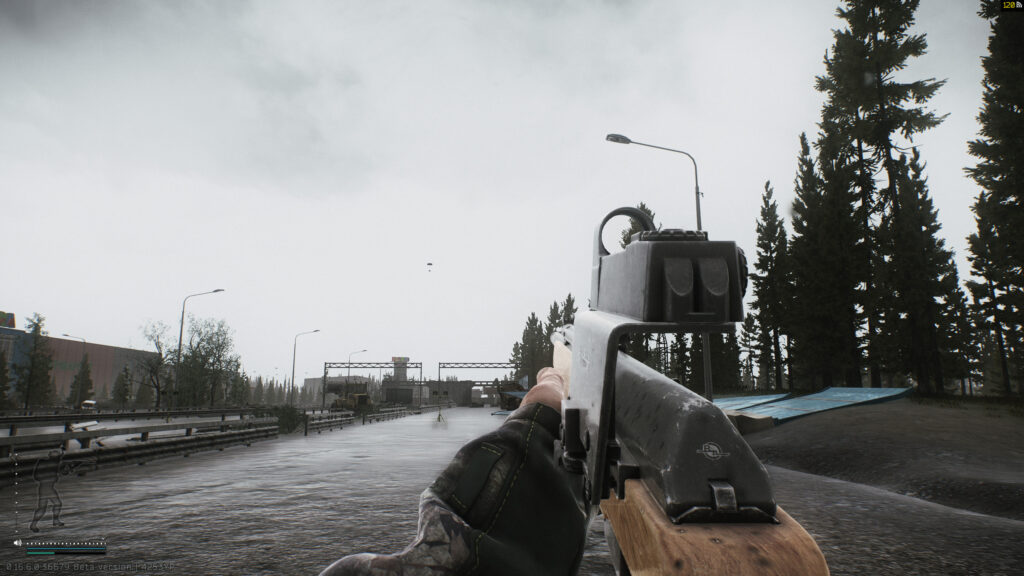
Remain still, maintain minimal movement to avoid rustling sounds, and monitor animation patterns—like weapon sway—to avoid accidentally giving away your location. Use a headset to listen for audio cues: footsteps, door creaks, or distant weapon reloads. Once you hear approaching movement, remain silent for an extra beat—players often slow down or stop when uncertain, making them easy targets. A single, well-placed shot, followed by immediate relocation, can net an ambush kill without ever giving your position away.
4. Psychological Misdirection and Baiting Techniques
Beyond simply hiding and waiting, you can actively manipulate opponents’ perceptions to lure them into a trap—often called baiting. One basic method involves firing an “ad” shot (a deliberately inaccurate shot into walls or distant terrain) to draw enemy attention toward a false engagement. As players rush to investigate, anticipating an opponent in a nearby room, they unwittingly step into your ambush. Another technique is intentionally leaving loot or weapons visible in semi-walled rooms or on ground level. Players, seizing the opportunity for “free” gear, rush in without checking corners—precisely the moment you emerge from cover. On maps with destructible sandbags or breakable crates (e.g., drawer in Shoreline’s first floor or terminals in Labs), stage a false sounds—shoot the wall adjacent to cover to generate ricochet, then reposition for the real ambush. Always be mindful of your own footsteps: after firing a bait shot, immediately change position quietly, as a seasoned player may note the ricochet source. The more confident and natural your bait, the more likely an opponent will commit to a rushed peek—right into your line of fire.
5. Counter-Ambush Tactics: Avoiding Common Traps
Understanding ambush psychology also helps you recognize and evade traps. When traversing well-known choke points, adopt a multi-phase scanning technique: perform a silent tactical lean to clear the near corner, followed by a quick pivot into the wider angle to catch hidden ambushers. Use throwables—toss a flashbang or grenade into a suspected ambush area; if an explosion isn’t returned by gunfire, it likely indicates a clear corridor. Practice pieing—aim for headshot height around tighter angles, as many ambushers set up expecting body center hits. Use the third-person camera on peeking around cover to scan unseen corners; note that this only works when outdoors or in non-building contexts.
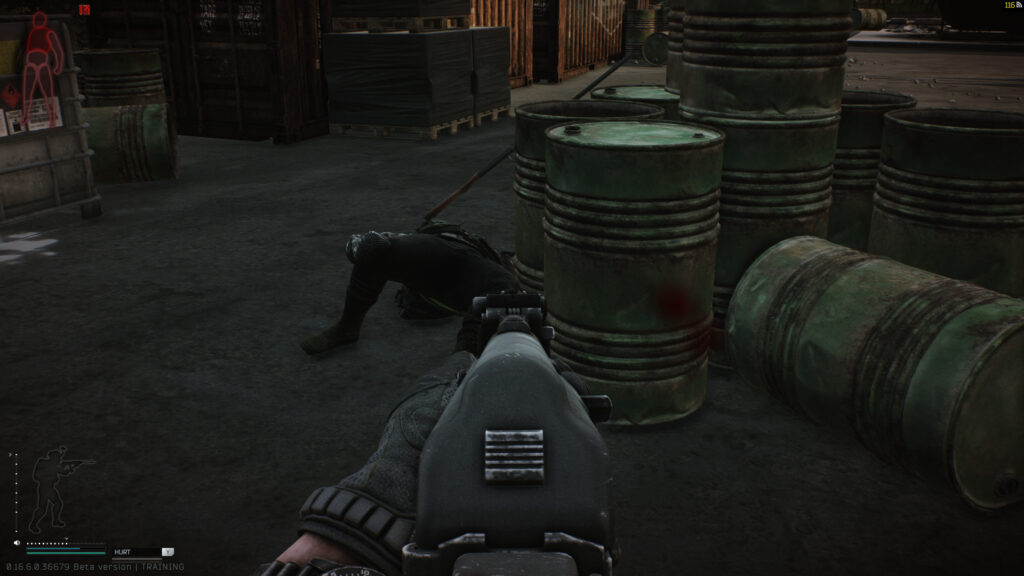
When moving through a potential ambush zone with a teammate, stagger your entry: have one player peek quickly at head level while the second holds back and monitors for movement in the nearby area. Always assume a position of disadvantage and be prepared to retreat quickly rather than commit to a fight at an ambusher’s choosing. By maintaining cautious habits and integrating these countermeasures, you’ll make ambushing more difficult for your opponents while preserving your own survival.
6. Conclusion
Ambushes in Escape from Tarkov are as much about manipulating an opponent’s mind as they are about gunplay. By leveraging cognitive biases—like predictable movement patterns, stress-induced behaviors, and common heuristics—skilled operators can stage seemingly unavoidable traps using map-specific choke points, timing, and environmental cues. Whether firing false “ad” shots to lure enemies or patiently waiting in a corner that feels “safe” to most players, the essence of an ambush lies in controlling the narrative of the encounter. Equally important is mastering counter-ambush techniques—using audio cues, tactical leaning, and cautious scanning to negate traps set by others.
By integrating both ambush and anti-ambush strategies into your playstyle, you transform from a reactive participant into a commanding presence on the battlefield, dictating when and where engagements occur. Embrace the psychological aspects of ambush warfare, and you’ll consistently outplay opponents who rely solely on reflexes and firepower.

Leave a Reply